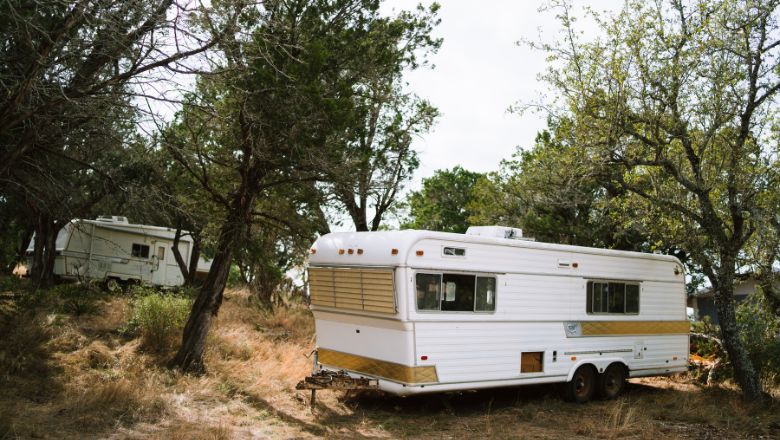
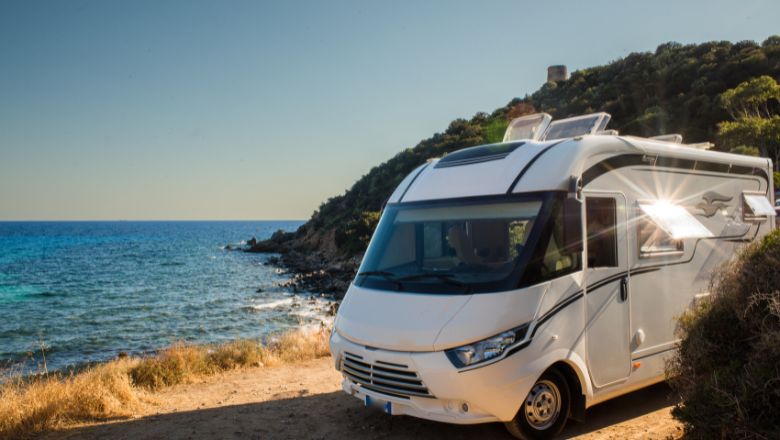
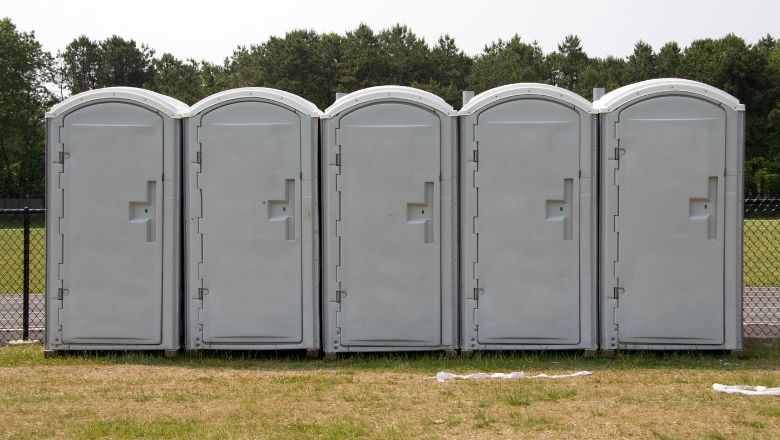
Imagine a scenario where you’re all set for a dream RV vacation in the scenic wilderness of Idaho Falls. You’ve meticulously planned your route, stocked up on supplies, and hit the road with excitement. However, a nasty surprise awaits you a few days into your adventure – a malfunctioning RV waste tank. An overflowing tank can quickly turn your dream vacation into a messy nightmare, disrupting your itinerary and causing unnecessary stress. This is where regular RV pumping becomes crucial, especially in an area like Idaho Falls.
Last but not least, just as you wouldn’t start a long journey on the road in your RV without filling up the tank, RV pumping is another fundamentally important practice to ensure your RV is ready for action and all systems are good to go. Following a correct RV pumping schedule and having a good septic system in the RV will prevent such incidents and help facilitate a good, fun RV trip.
In this blog, the reader is introduced to the “Essential RV Pumping Checklist for Idaho Falls,” which will be elaborated on and discussed, and its usefulness in achieving a smooth pumping process for RV owners. The checklist below is designed to help the first-time RV pumper in Idaho Falls and the veteran adventurer easily navigate the RV pumping process.
The Essential RV Pumping Checklist for Idaho Falls
Following a comprehensive checklist can significantly streamline the RV pumping process in Idaho Falls. Here’s a breakdown of the essential steps involved:
Preparation
Before diving into the pumping process itself, some crucial preparatory steps are necessary:
1.Gather Supplies:
Ensure you have the necessary supplies on hand, including gloves, disinfectant wipes, a sewer hose (consider the length required to reach the designated dump station), and a leveling block (to ensure your RV rests on a stable, level surface during pumping). Our team at MVP Rentals offers high-quality sewer hoses and other RV essentials to ensure you have everything you need for a smooth pumping experience.
2.Locate the Waste Tanks:
Familiarize yourself with the location of your RV’s waste tanks. These are typically found underneath the RV, often marked with clear labels. Identifying the tanks beforehand will save time and prevent confusion during the pumping process.
3.Schedule Appointment (Optional):
While some RV parks and campgrounds have designated dump stations available on-site, others may require reservations. If you’re unsure about the availability at your location, consider scheduling an appointment with a local RV pumping service to avoid any inconvenience.
Pumping Process
Once you’re prepared, here’s how the RV pumping process typically unfolds:
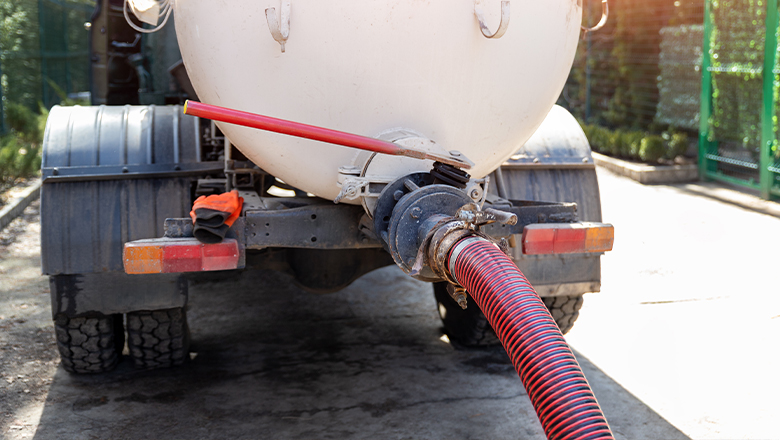
1.Connect the Discharge Hose:
Ensure you attach the discharge hose normally located at your RV’s waste tank outlet to the specified inlet at the dump station. Seal the connection to avoid leakage and braking during operations.
2.Open the Drain Valves:
Slowly open the drain valves on your RV’s waste tanks, one at a time. Monitor the flow of waste to ensure a complete and efficient emptying process.
3.Monitor the Process:
Monitor the waste tank levels as they empty. When the gray-colored water stops flowing, and only clean water flows through, you can be sure the tanks are empty.
4.Rinse the Tanks (Optional):
For even more cleaning, you can flush the tanks with fresh water after they have drained. This is useful in flushing out any remaining waste and also neutralizing the smell within the tanks.
5.Disconnect the Hose and Close Valves:
After the waste and water have been pumped out and rinsed (if necessary), disconnect the drain hose and ensure the dump valves of your RV waste tanks are closed properly.
Post-Pumping Maintenance
Following the pumping process, here are some recommended maintenance practices:
6.Sanitize the Discharge Hose:
To prevent the hoses from getting dirty and emitting unpleasant smells, they should be washed and disinfected both inside and out. This will minimize the cross-contamination of germs and other pathogens on the pump’s surface and ensure the equipment is clean for use in the next pumping session.
7.Deodorize the Tanks (Optional):
An RV tank deodorizer is available to eliminate any remaining smell in the RV tanks. These products are liquid or tablet and can easily be purchased from local RV supply stores or different online stores.
8.Dispose of Used Supplies:
Another important RV maintenance tip is to properly discard gloves and disinfectant wipes in disposal bins with lids, if available, or in any other receptacles meant for waste disposal.
Additional Tips for RV Pumping in Idaho Falls
Here are some additional pointers to enhance your RV pumping experience in Idaho Falls:
Local Regulations
Familiarize Yourself with Local Regulations:
Waste disposal laws may also differ from one region to another. Idaho Falls residents should learn about any possible laws regulating waste tank disposal. The Idaho Falls website (https://www.idahofallsidaho.gov/) or contacting your local campground/RV park management can provide valuable information on this topic.
Frequency of Pumping
Develop a Pumping Schedule:
The frequency of RV pumping also varies with factors such as the size of the waste tanks, the usage, and the occupancy. An approximate guideline points to the pumping frequency within the 2-4-day interval or when the tanks are 75% full. In long journeys, you should plan for a pump-out at halfway, especially if you expect limited access to Idaho Falls RV dump stations.
Winter Considerations
Winterize Your RV Plumbing:
If you plan on RVing during the winter months in Idaho Falls, it is essential to know how to winterize the plumbing system in your RV to prevent pipes from freezing and being damaged. It often involves emptying tanks, hoses, and p-traps and introducing the antifreeze solutions to the identified lines.
Finding RV Dump Stations
Locate RV Dump Stations:
Knowing the location of RV dump stations in Idaho Falls is essential. There are several sources you can turn to in your efforts to locate the stations near you. Many websites and applications offer information concerning the location of dump stations, charges where there are any, and user reviews. Many full-service stations, truck stops, and campgrounds have dump stations for RVs.
Final Takeaway
If you adhere to the guidelines highlighted in the “Essential RV Pumping Checklist for Idaho Falls” and amalgamate the tips mentioned above, RV pumping will not pose a challenge whenever you explore Idaho Falls, Pocatello, Rexburg, Twin Falls, and the surrounding areas. RV pumping is a vital procedure regularly undertaken to enhance the overall RV environment, avoiding the grim occurrences involving RV systems that can greatly affect an RV user’s experience.
If you need RV accessories or additional tips on how to care for your RV, visit MVP Rentals’ Official Website, which serves Southern Idaho, Eastern Idaho, and Western Wyoming. Our staff is always ready to guide you on which products to purchase or just negotiate details concerning RV maintenance and utilization.
Besides the services offered in the RV industry, MVP Rentals boasts solid corporate ideals such as respect for clients, professionalism, and social responsibility. It might sound funny, but your RV is a home on wheels, and we would like to help you take good care of it. For instance, in case of general service, emergency service, or advice on how to keep your RV in the best condition, MVP Rentals is your one-stop service provider.
Therefore, grab your luggage, take provisions, and take the RV on the road with confidence and knowledge that you have the fundamental requirements for RV pumping in Idaho Falls. So, if You want Your RV trip to be a happy memory rather than a nightmare, be ready beforehand and use this list. You can reach us via phone at 208.529.9916 to book an appointment with us.

